Day 66: CSS Transformation by building Penguin
Published
•2 min read
Hello. Welcome back to my learning CSS Transformation by building a Penguin. Yesterday, I started by creating the html file, inputting the html boiler plate, creating a css file and giving a background-color to the body using liner-gradient. Here are the 10 steps I took today:
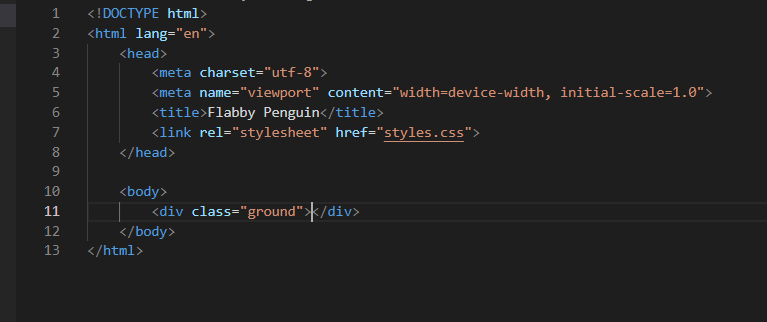
- Within the body, added a div with a class of ground.
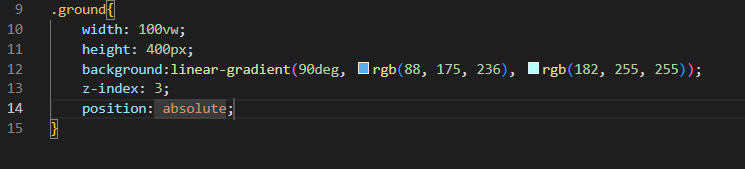
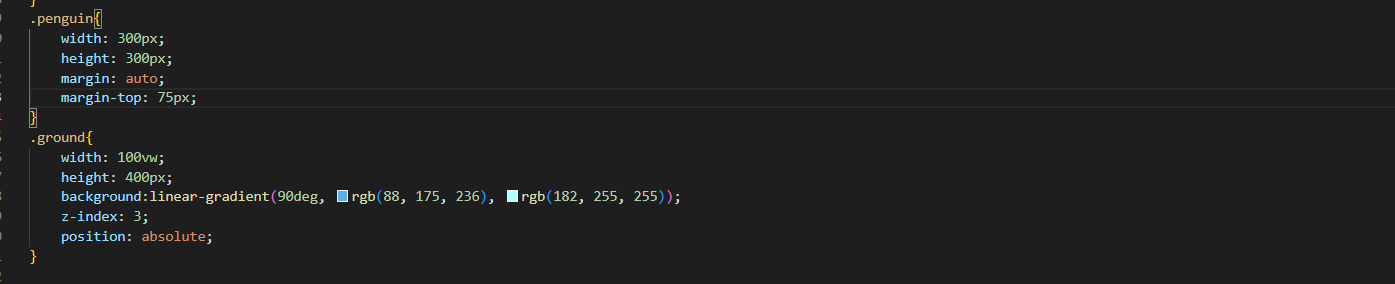
- Target the .ground element, and set its width to take up the full width of the viewport. Then, set the height to 400px.

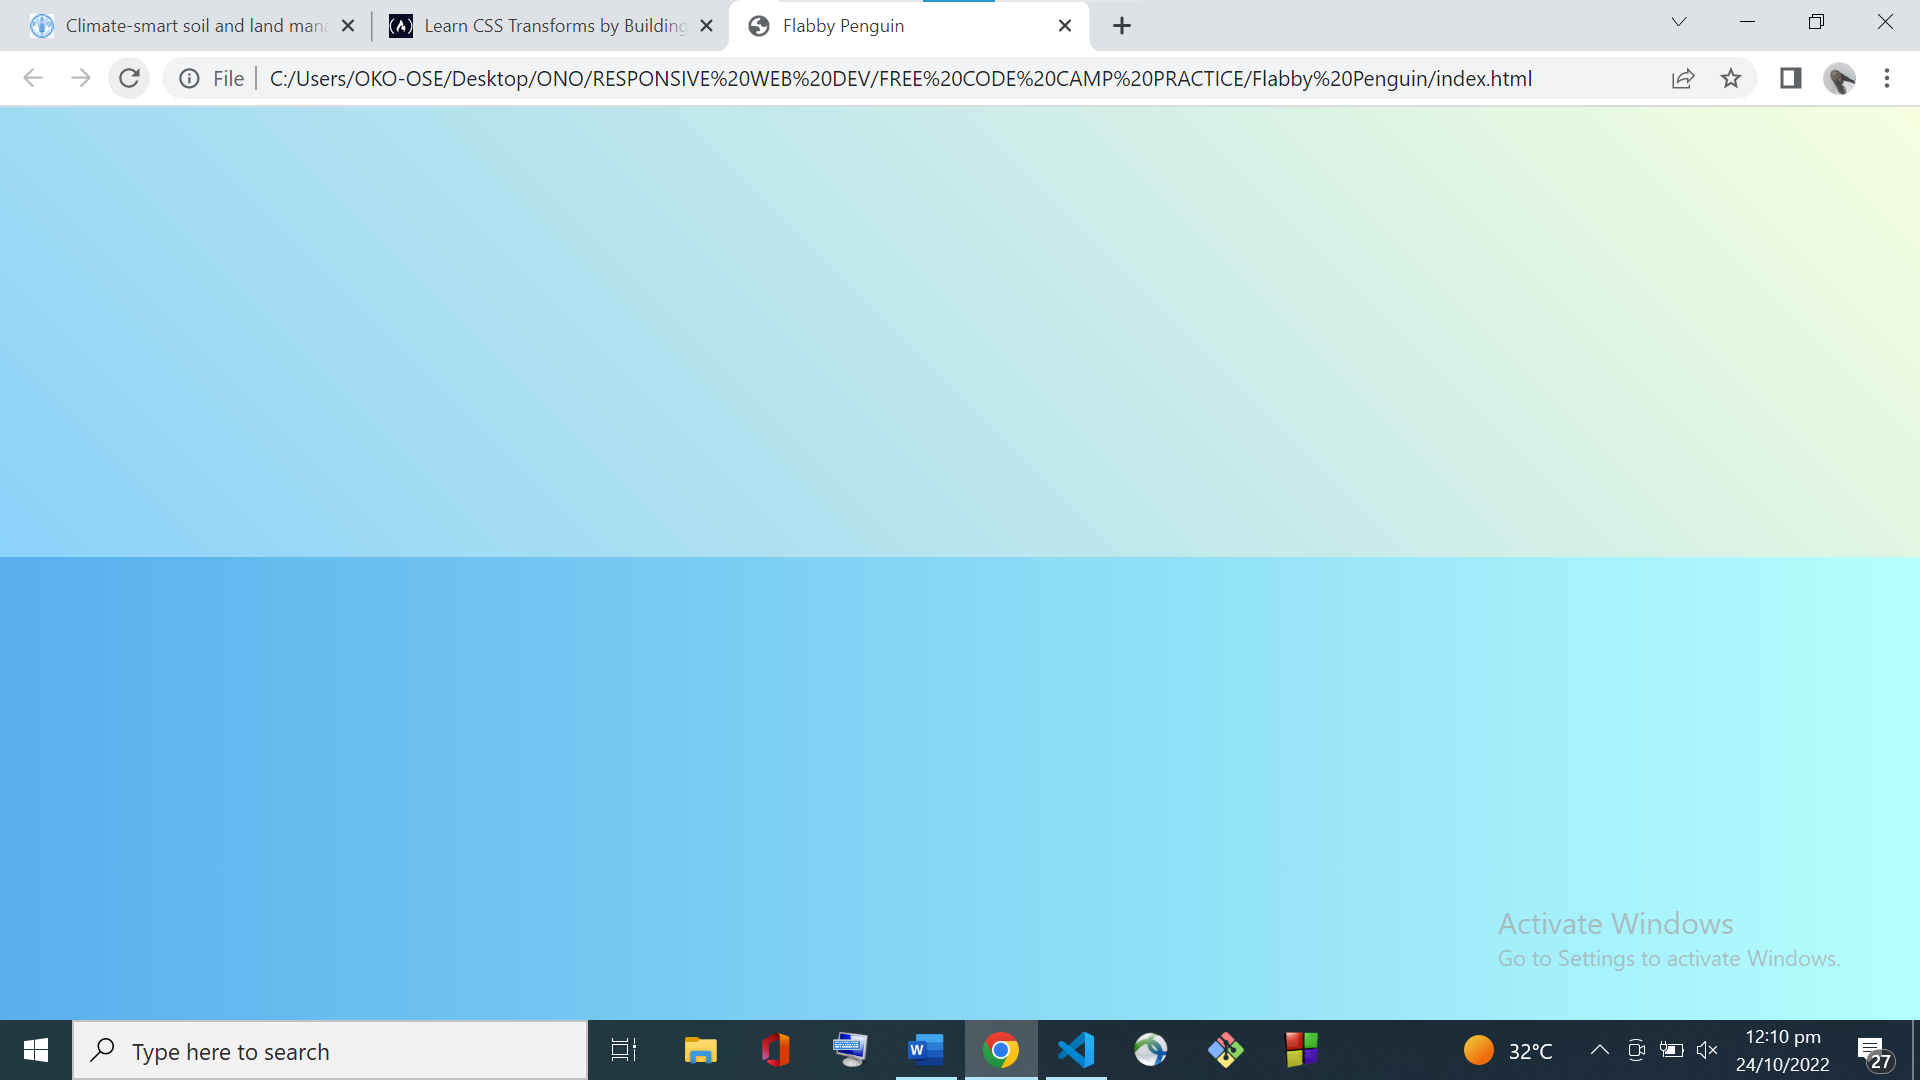
- Gave the .ground element a background with a linear gradient angled 90 degrees clockwise, starting at rgb(88, 175, 236) and ending at rgb(182, 255, 255)

- As the .ground element will be third in the stacking context of the page layout, I set its z-index to 3, and position to absolute.

- Above the .ground element, added a div with a class of penguin. This div will contain Flappy Penguin.

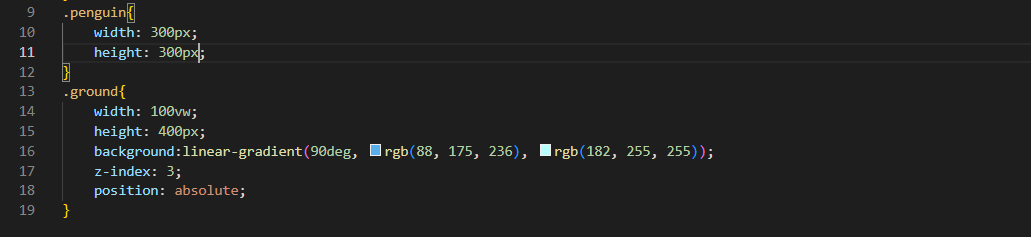
- Targeted the .penguin element, and set its width and height to 300px.
- Used the margin property to horizontally center the .penguin element, and set the margin-top to 75px.
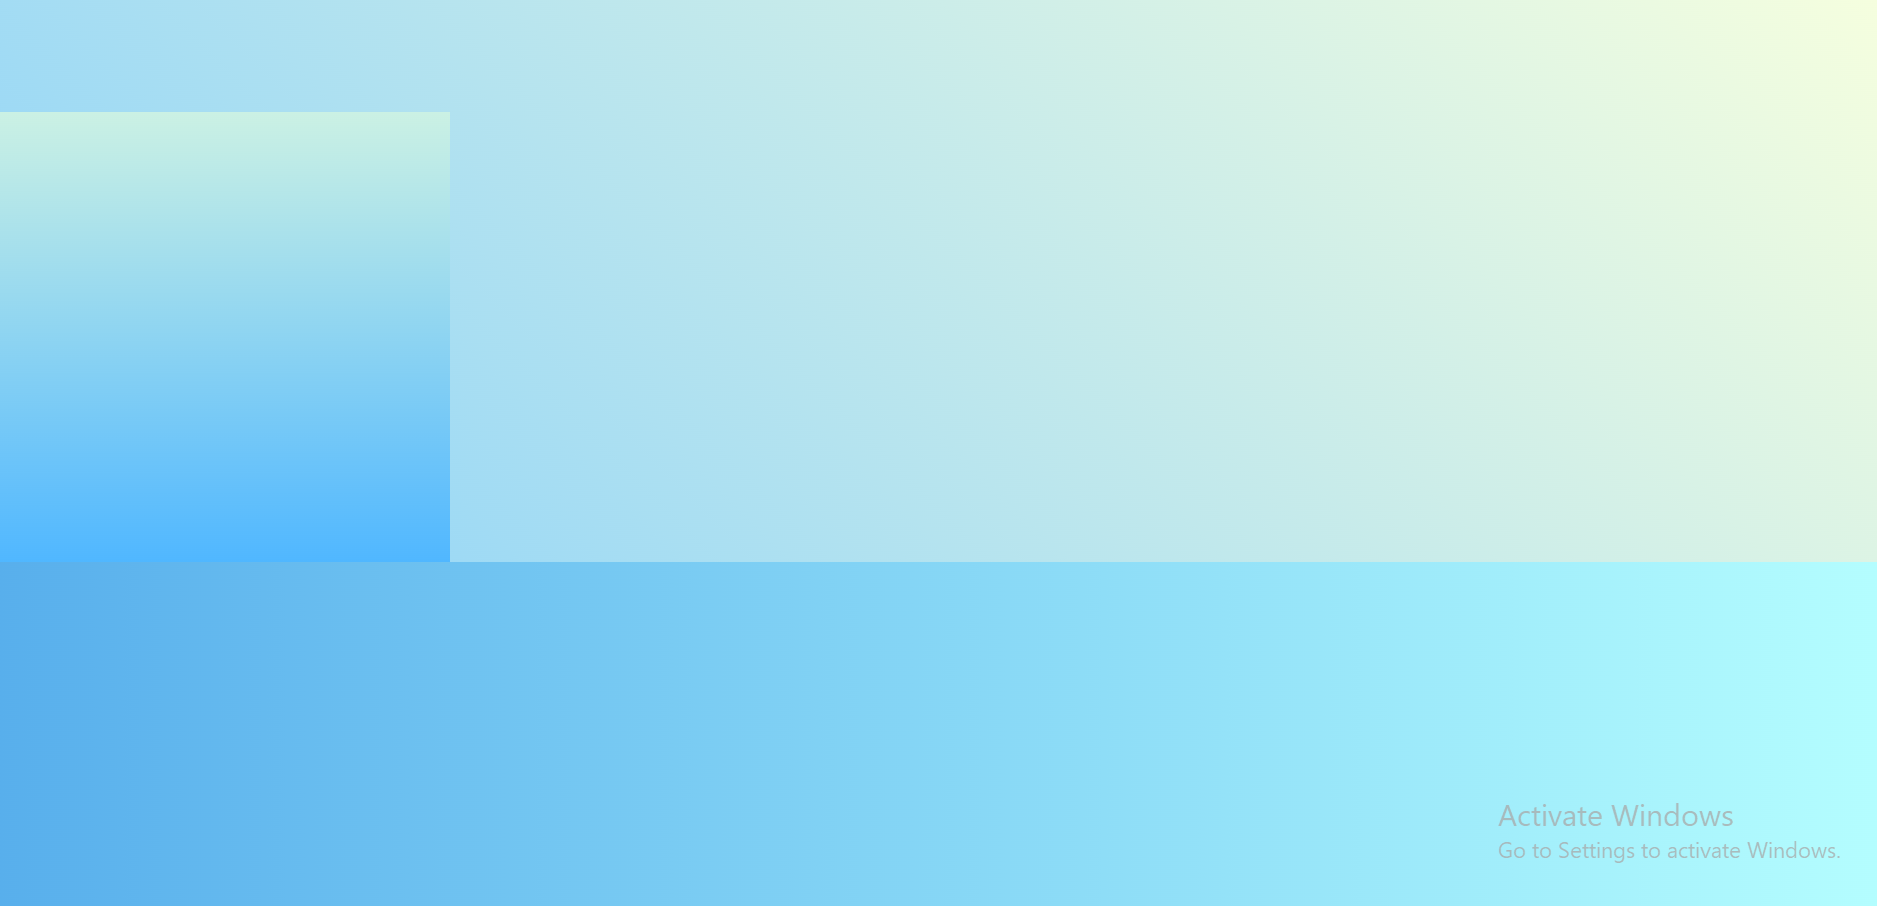
- To create some scenery in the background, I added two mountains. For the first mountain, above the .penguin element, added a div with a class of left-mountain.

- Targeted the .left-mountain element, and set its width and height to 300px. Then, set the background to a linear gradient starting at rgb(203, 241, 228) and ending at rgb(80, 183, 255).


- To prevent the mountain from pushing the .ground element, I adjusted its position to prevent it from taking up space in the page layout.

 That's all for today. Please drop your suggestions or questions. It would really help me. See you tomorrow.


